
How to Create a Bitcoin Ordinal Inscription (step-by-step)
GM! Welcome to the Ordinal newsletter. The weekly newsletter dropping every Wednesday covering the latest collections & developments in the space.

Hello everyone!
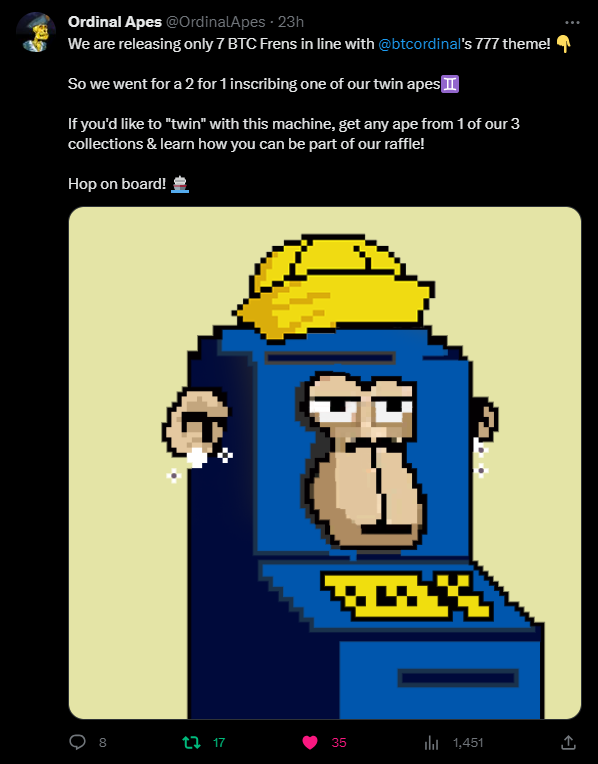
This week has been relatively busy for me- I just took a Founder position in Ordinal Apes, a sub-10k project, and made the art for our recently released collaboration with BTC Machines. I created 7 BTC Machines x Ordinal Apes (BTC Frens, they’re called) as part of the collaboration; 5 of the 7 will be auctioned, and the other 2 will be given away to community members from each respective project. To stay up to date, join my Discord to learn more about the project, or view my YouTube video.
BTC Ordinals taking off - 20M inscriptions imminent
Today’s article is going to cover how to create an inscription (Bitcoin NFT), considering that more content creators and artists are looking to enter this space.
Although I have a YouTube channel where I cover this topic in a video, I also want to provide steps for those who prefer written guides.
If you're new to this blog, a Bitcoin inscription is similar to an NFT. While I won't delve into the details of what exactly Bitcoin inscriptions are, I've previously written an article that explains them in greater depth.
With that out of the way, let's get started.
Step 1 - Pick something to Inscribe
Depending on the content you want to inscribe, the fees and steps involved will vary.
Images:
If you're inscribing an image, like a .JPEG or .PNG file, I recommend converting it to a .WEBP file using this tool. Afterward, compress the image with this tool to reduce the file size and save money. Remember, larger files usually incur higher inscription costs.
Note: Compressing an image file can reduce its quality, and it's essential to strike a balance between file size and image quality. While there is no exact science to determine how much compression is too much, it's usually quite evident to the eye when the quality has been significantly compromised.
Be cautious and check the compressed image to ensure it still meets your desired standards before proceeding with the inscription.
Audio:
Musicians should consider using Sanctuarium for inscriptions, as they ensure your inscription meets the necessary criteria for ownership and intellectual property rights with their BRSC standard. For more information on this, refer to this article.
.HTML, .MD, .TXT, etc.:
For scripts and other files of this nature, there are generally no additional steps needed to optimize your inscription. However, if I discover new information in the future, I will update this section accordingly.
Step 2 - Purchase Bitcoin via an Exchange
To get started, you'll need to purchase Bitcoin through an exchange. I recommend using Crypto.com as it stands out for not freezing funds for extended periods, unlike many other exchanges. Moreover, the personal identification requirements are less stringent, saving you time and hassle.
To determine the amount of Bitcoin to purchase, upload your file to SatScribe, the inscription platform we'll be using in this tutorial. It will give you a good idea of how much Bitcoin you'll need for the inscription.
If you wish to add some flair to your inscription or feel adventurous, you can also purchase a Rare Sat. They can enhance your inscription, and some options like Pizza Sats and Silk Rd Hit Sats are quite affordable as well.
Keep in mind that transaction fees on the Bitcoin network can fluctuate, and the Bitcoin price can also change. To be on the safe side, consider purchasing $20 more than the amount required for your inscription via SatScribe. This way, you'll have some buffer to cover any unexpected costs.
Step 3 - Set up an Ordinals wallet
For this step, you'll need to download a wallet extension called Xverse if you're using a computer. If you're on a phone, you can find the Xverse wallet app on the Apple or Android app store. While setting up the wallet on a laptop or desktop computer is generally recommended for ease, you can also use a mobile device if necessary.
Alternatively, Unisat is another great wallet option known for its functionality. However, I personally prefer Xverse due to its user-friendly and straightforward interface.
Important Note: If you own a Pizza Artifact, SatScribe offers a generous 25% discount on Bitcoin Inscriptions. Currently, this discount can only be applied if your Pizza Artifact is held in a Unisat wallet. So, keep this in mind when deciding between an Xverse and Unisat wallet.
Step 4 - Inscribing via SatScribe
Visit the website SatScribe.xyz and click on "Inscribe Now" from the Homepage.
On the "Inscribe" page, upload the file you wish to inscribe and choose your Sat selection. Remember that "Common" Sats are free.
Before proceeding, double-check that the file you've selected is indeed the one you want to inscribe. Then, click on "Upload and Pay."
Enter the correct receive address for your inscription. Regardless of your wallet, the receive address should start with "bc1". Be careful not to send your inscription to a regular Bitcoin address.
Once your file is uploaded and the correct receive address is entered, submit your payment with the appropriate amount of BTC to SatScribe.
After completing the payment, make sure to copy your Transaction ID as a receipt for future reference.
Now, all that's left to do is wait for your inscription to arrive in your Ordinals wallet. Be patient, and soon your content will be successfully inscribed and stored on the blockchain.
Congratulations! You’ve just created your first Ordinal inscription (:
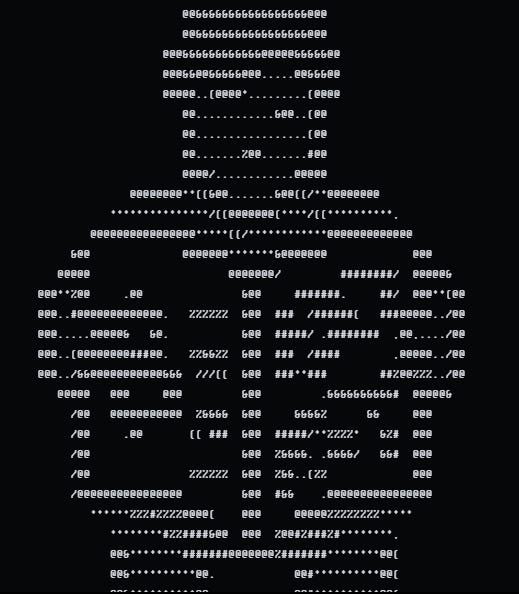
View my first inscription HERE (use a computer for the best view)